Use Smart Arrange for one clear photo and a fast starting layout, Manual Adjust when you need exact control over crop and placement, and Studio Arrange when the image needs human judgment. Whichever path you choose, select the exact phone model first and check every important detail against the live camera opening.
Choose the path from the problem in the photo
The three options are not quality levels. They solve different layout problems. Smart Arrange is useful when the subject is already easy to recognize. Manual Adjust is useful when you can see the crop you want and need the tools to make it. Studio Arrange is useful when the memory matters more than your confidence with the editor, or when several important details compete for a narrow case shape.
Begin by naming what cannot disappear. It might be both eyes in a pet portrait, two faces and the hand joining them, a handwritten date, the ribbon around a bouquet or the edge of an original drawing. That decision is more useful than asking whether the whole photograph can fit. A phone case is tall, has a model-specific camera opening and wraps at the edges, so some background usually needs to become flexible space.
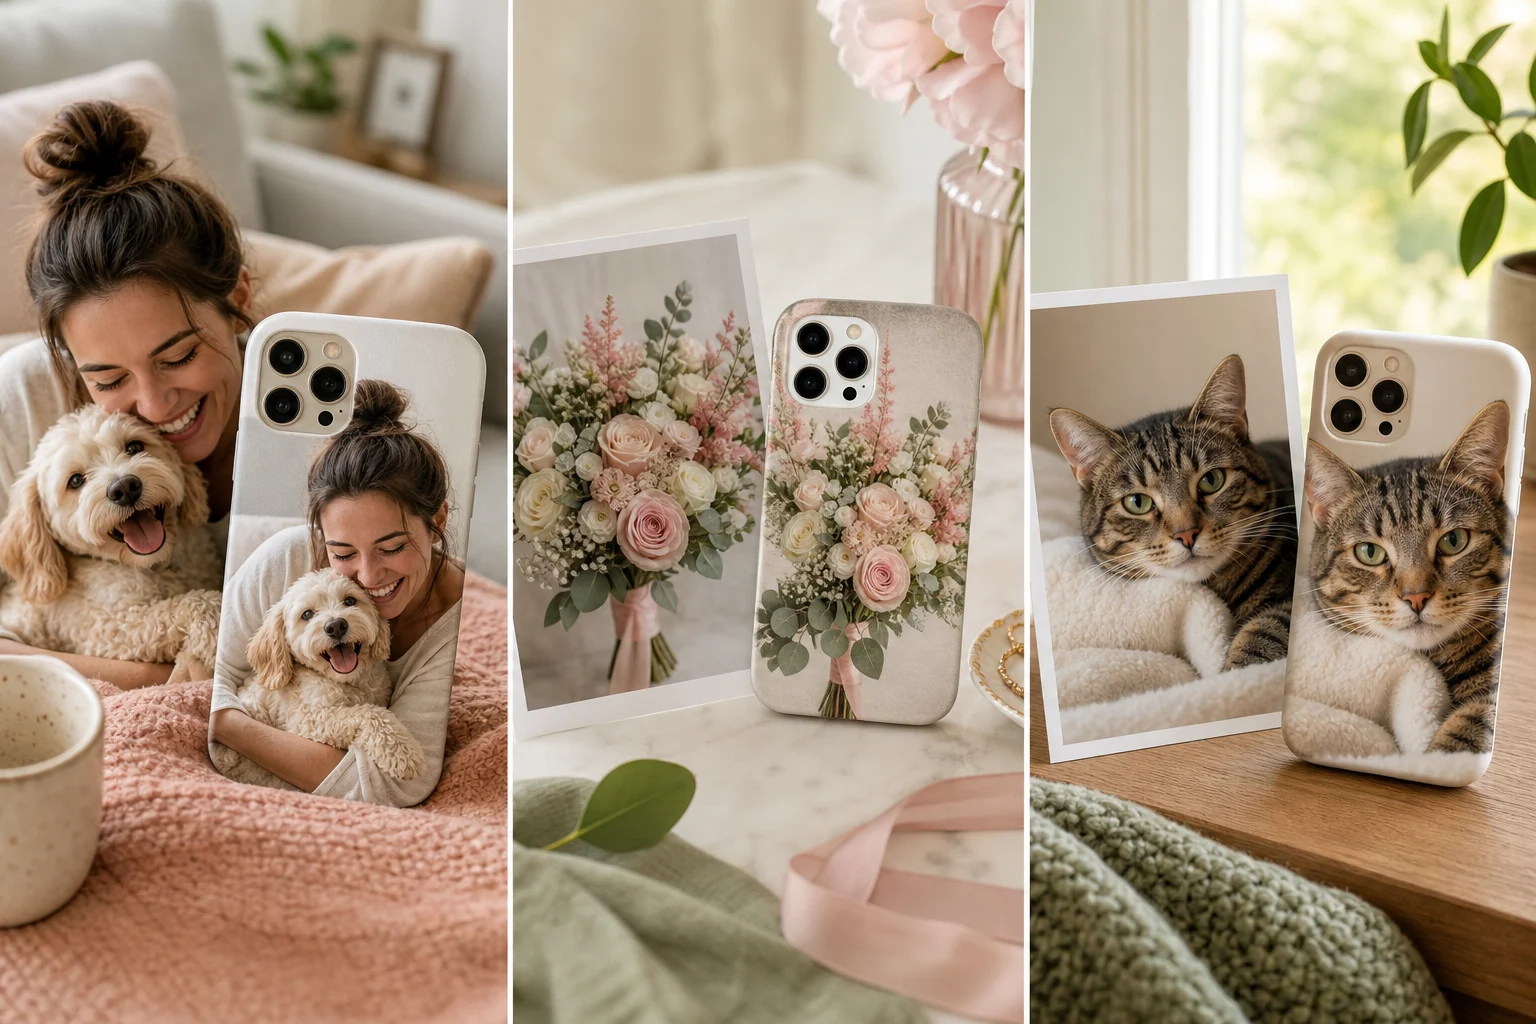
Use Smart Arrange for one clear subject
Smart Arrange is the quickest starting point for a single photo with a recognizable subject and usable space around it. Upload the original PNG, JPG or WebP file, select the exact phone model and let the editor propose a full-bleed, camera-aware placement. The result is a starting composition, so look at the live preview rather than treating the automatic choice as final.
This path works well for a centered pet portrait, one person against a simple background or a flower arrangement with room around the main blooms. Check the eyes, ears, face, text and other defining details. If one sits too close to the camera opening, move to Manual Adjust or rerun Smart Arrange after choosing a more flexible source image.
Transparent PNG artwork follows a different visual logic from a full photograph because open areas can remain visible instead of becoming a full background. A plain white edge is cleaned only when the system has high confidence. Always inspect the result; the editor does not turn a small or blurred source into a detailed print file.
Use Manual Adjust when the crop is the decision
Manual Adjust gives you direct control over drag, nudge, zoom, rotation, Fit and Fill. Choose it when the source photo is strong but the automatic starting point does not protect the exact detail you care about. It is also the better path when the subject sits off center, the horizon needs straightening or two faces need a few careful movements away from the camera opening.
Start with Fit when the outer shape matters. Fit keeps the whole image visible, which can help with complete artwork, bouquet stems or a full-body pet pose, but it may leave unused space around a wide photograph. Try Fill when you want edge-to-edge color. Fill covers the printable case and may crop the outer edges, so check fingertips, ears, lettering and objects close to the frame.
Make one change at a time. First protect the camera area, then set the scale, then fine-tune movement and rotation. The dashed safe-zone guide is a visual aid rather than a cut line. Look beyond the guide and check the case edges too, because the printed composition must still feel balanced when held at normal phone size.
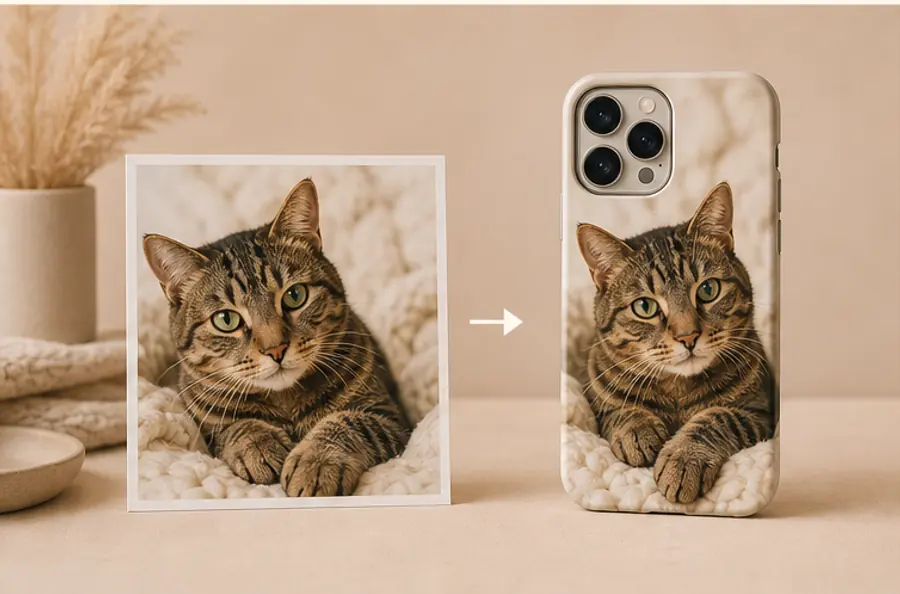
Use Studio Arrange when judgment matters most
Studio Arrange is for an image that needs a decision rather than another automatic crop. Upload the original and describe what must stay visible. Useful notes are concrete: “keep both people and the dog’s face,” “show the complete handwritten date,” or “do not crop the child’s hand.” These instructions tell the studio what carries the memory.
Choose this route for a sentimental photo with limited space around the subject, a group where every face matters, artwork that needs careful scale or a source that leaves you unsure after comparing Fit and Fill. The submitted composition receives a human production check. That check helps catch layout issues; it does not promise that screen color and printed color will be identical, and it does not replace choosing the correct phone model.
Studio Arrange also reduces the temptation to force a weak crop because you have already spent time editing it. If the source lacks enough detail or places a critical feature directly beneath the camera opening, the most useful next step may be a different original photo. Protecting the memory can mean changing the source instead of squeezing every pixel into the case.
Use ready-made designs to judge visual scale
Catalog artwork can help you decide how large one subject should feel, even though it is not a custom-photo preview. The Fluffy Gray Kitten Portrait for iPhone 17 Pro Max in White uses one large face as the immediate focal point. The Curled Orange Tabby Cat for iPhone 17 Pro Max in White keeps a smaller full-body shape surrounded by more open space. Both links point to current catalog variants; availability and price are confirmed again before payment.
Use that contrast to describe your goal. If recognition comes from the face, give it more area. If posture or a complete object carries the meaning, preserve the outer shape and accept more surrounding space. This is a composition choice rather than a claim that one style is universally better.
Run the same final check for all three paths
Before saving the design, confirm the complete phone-model name, including any Pro, Plus, Max or other suffix. Similar-looking phones can have different camera openings. Then view the preview at a smaller size. You should be able to find the main subject immediately without mentally reconstructing a cropped face or word.
Check four things in order: the camera opening sits in flexible background; the defining detail remains inside the case edges; the image is large enough to read; and the selected layout path matches the amount of control the photo needs. If any answer is uncertain, return to the source image or choose Studio Arrange with a specific note.
Open the DIY Studio when you are ready to compare the three paths. Smart Arrange is a fast beginning, Manual Adjust is precise control, and Studio Arrange is human layout help. The successful choice is the one that keeps the memory recognizable on the exact case you intend to order.
PHOTO CASE LAYOUT FAQ
Answers before you start
Which layout option should I try first?+
Start with Smart Arrange when you have one clear photo and want a quick camera-aware layout. Use Manual Adjust when you already know the crop you want, or Studio Arrange when the image needs human judgment.
Does Smart Arrange replace checking the preview?+
No. Select the exact phone model and check faces, text and other important details against the camera opening and case edges before saving the design.
When is Manual Adjust the better choice?+
Choose Manual Adjust when you need to protect a precise edge, move a face away from the camera, compare Fit with Fill, or control zoom and rotation yourself.
What should I write in a Studio Arrange note?+
Name the detail that cannot be lost, such as both faces, a pet's ears, a child's hand or the complete bouquet. A specific instruction is more useful than a general request to make the image look good.